

DIY Wooden Baby Play Gym Tutorial
DIY Wooden Baby Play Gym
A baby play gym is a fantastic way to engage and entertain your little one while encouraging their physical and cognitive development. In this step-by-step tutorial, we will guide you through the process of creating a DIY wooden baby play gym. This simple and budget-friendly project will provide hours of fun and learning for your baby, helping them reach important developmental milestones.
Materials Needed:
- Wooden dowels (3/4 inch diameter, 36 inches long)
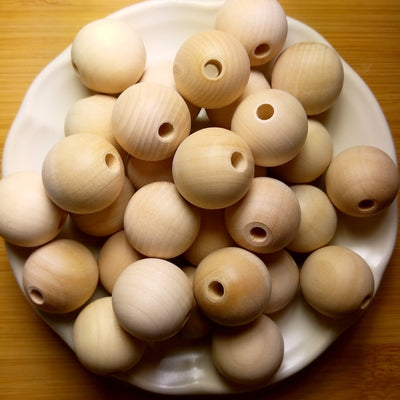
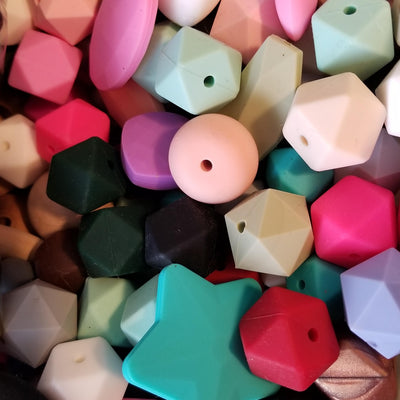
- Wooden beads with large holes (at least 1 inch diameter)
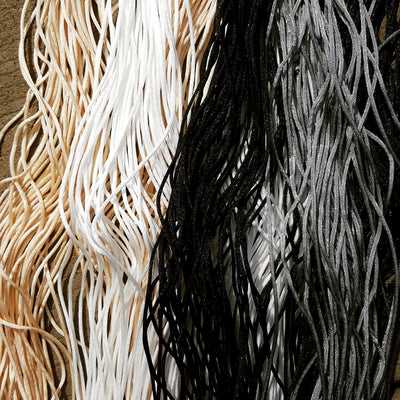
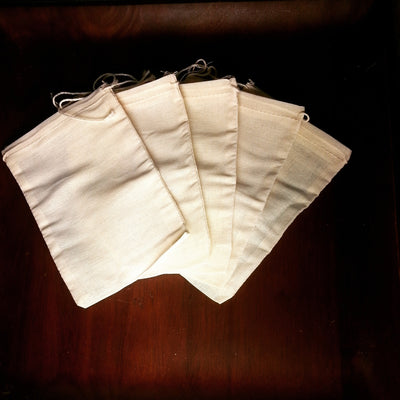
- Strong cord or twine
- Wooden play gym frame (premade or custom-built)
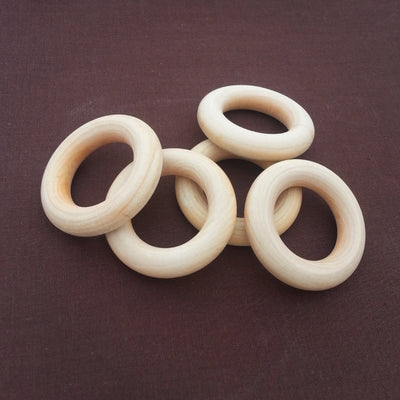
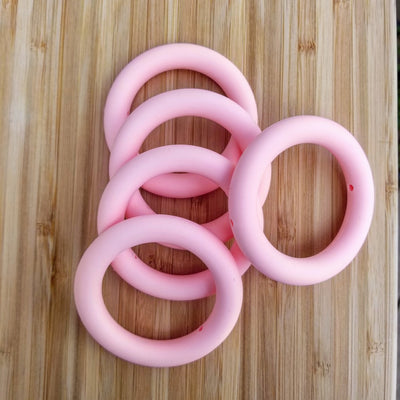
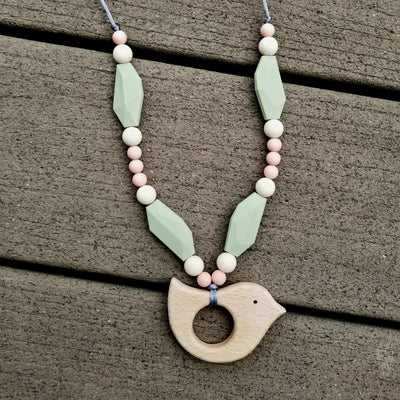
- Baby-safe toys and sensory objects (e.g., soft rattles, plush toys, teething rings)
Tools Needed:
- Saw (hand saw or miter saw)
- Drill with a small drill bit (to create holes for the toys)
- Sandpaper (for smoothing rough edges)
- Measuring tape or ruler
Step-by-Step Instructions:
-
Prepare the Wooden Dowels: Measure and mark the wooden dowels to the desired length (approximately 20-24 inches each) for hanging the toys. You'll need three or four dowels, depending on the width of your play gym frame.
-
Cut the Dowels: Using a saw, carefully cut the wooden dowels to the marked length. Make sure to cut them evenly to maintain a level play gym.
-
Sand the Dowels: Smooth any rough edges or splinters on the cut dowels using sandpaper. This step is essential to ensure your baby's safety during playtime.
-
Create Holes for the Toys: On each end of the wooden dowels, drill small holes using a drill with a suitable drill bit. The holes should be large enough for the cord or twine to pass through easily.
-
Assemble the Play Gym Frame: Assemble the wooden play gym frame according to the manufacturer's instructions if using a premade one. If building a custom frame, construct a simple A-frame using sturdy wooden beams and securely fasten the joints.
-
Paint the Frame (Optional): For an added personal touch, you can paint the play gym frame with non-toxic baby-safe paint. Use soft pastel colors or any color scheme that complements your nursery decor. Allow the paint to dry completely before proceeding.
-
Attach the Dowels: Thread the cord or twine through the holes in the dowels and tie knots to secure them in place. Space the dowels evenly along the width of the play gym frame. Adjust the height of the dowels based on your baby's age and developmental stage.
-
Add Baby Toys and Sensory Objects: Attach baby-safe toys and sensory objects to the wooden dowels using the wooden beads. String the beads onto the cord and secure them above each toy to prevent them from slipping off. Hang soft rattles, plush toys, teething rings, and other captivating items that will catch your baby's attention.
-
Safety Check: Before introducing the play gym to your baby, perform a safety check to ensure all toys are securely fastened and the frame is stable. Make any necessary adjustments to enhance safety.
Conclusion: Congratulations! You've successfully created a DIY wooden baby play gym that will provide endless joy and developmental benefits for your little one. As your baby grows and reaches new milestones, you can modify the hanging toys to keep them engaged and stimulated. Remember to supervise your baby during playtime and enjoy the precious moments of exploration and discovery with your little bundle of joy!
Leave a comment