

Organic Teething Ring Blanket Tutorial
Sewing your own teething blanket is simple, and you get to choose your own patterns!
Materials:
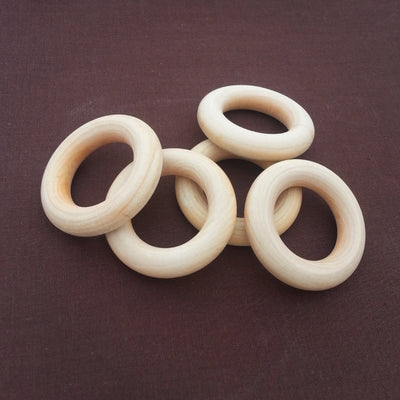
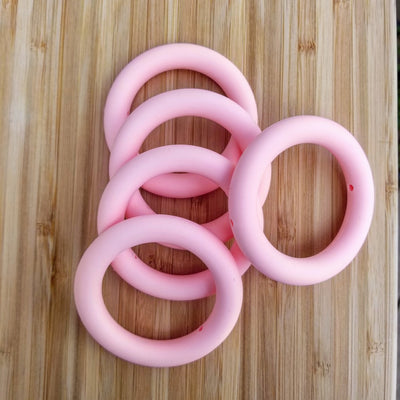
- Wooden teething ring
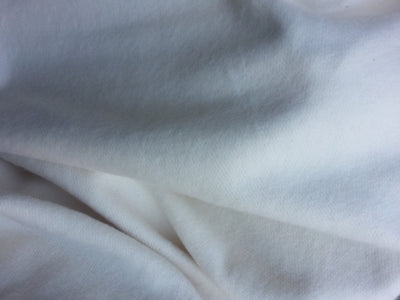
- Organic fabric for the blanket (cotton, flannel, or minky fabric work well)
- Snap buttons
- Sewing machine
- Scissors
- Pins
- Thread
- Iron
Instructions:
-
Cut the fabric to the desired size for the blanket. You can make it any size you like!
-
Iron the fabric to remove any wrinkles.
-
Lay the fabric flat, with the wrong side facing up.
-
Take the wooden teething ring and lay it on top of the fabric where you want it to be placed. Use a pencil or fabric marker to draw a line around the teething ring.
-
Remove the wooden teething ring and fold the fabric in half, with the right sides facing each other.
-
Pin the fabric in place along the line you drew for the teething ring.
-
Use a sewing machine to sew around the line, leaving a small gap for turning the fabric right side out.
-
Cut off the excess fabric around the sewing line, leaving about 1/4 inch of fabric.
-
Turn the fabric right side out through the gap you left.
-
Use an iron to press the fabric flat, with the seam along the teething ring line in the center.
-
Sew the gap closed using a needle and thread.
-
Attach the snap buttons to the corners of the blanket and to the wooden teething ring. Make sure they line up properly so that the blanket can be snapped onto the teething ring.
-
Trim any loose threads and give the blanket a final press with the iron.
-
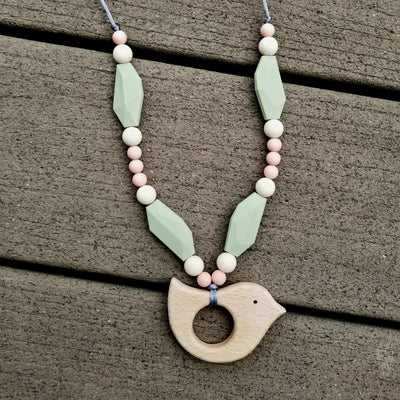
Your baby blanket with a snap-on wooden teething ring is now ready to use! Simply snap the corners of the blanket onto the teething ring for a soft and soothing toy for your little one.
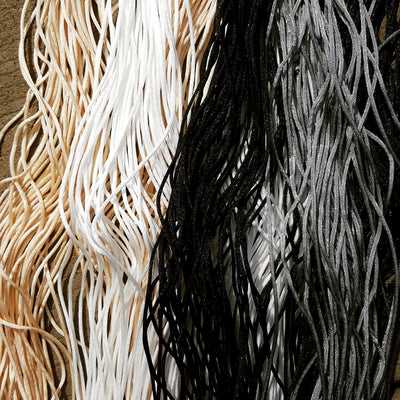
Note: If you prefer not to use snap buttons, you can also attach the blanket to the teething ring by tying the corners of the blanket onto the ring with ribbon or string.
Leave a comment